Friday, December 31, 2021

Quick projects


I've done a few of these extra sparkly kits lately as quick projects. The reason they are extra sparkly is because rather than being a solid colour the dots have a silver backing and are opaque - more like rhinestones. 


These projects are on a sturdy plastic backing board and one of the issues I've found is that the whole of the board is sticky but the design doesn't cover the whole board, meaning the edges are likely to attract dust and pet dander. You can see in the image below the middle gnome's hat only has diamond dots to be stuck on the red area but the clear plastic around it is also sticky.


With the singing gnomes design I attempted firstly to cover the blank spaces with glitter but that distorted the image. Because I sprinkled it on some of the glitter ended up where it wasn't wanted, so for example one of the gnomes has a pinkish face because some of the red glitter ended up on the silver area.

In the image below you can see where I first tried using glitter on the right hand side. I used blue glitter on the gnome's hat and green on the gnome's slove so the colour is denser but the outline is not as sharp. On the left-hand side where I've used mineral powder eyeshadow, the background colour is faded. This design has diamond dots only on one side.


For the gecko I poured silver coloured pearlescent mineral eyeshadow all over which worked really well but a little too well in that it also covered up the backing colour on the design.


For the bee, I just dabbed on some gold eyeshadow on the areas where it wouldn't cover the design - mostly just the wings and legs - especially as the bee had some extra details which were non-dotted. These suncatchers are double-sided with designs and dots on both sides. I'm very happy with how the bee turned out.

I love these little projects, they are quick to do and make great gifts but if anyone has tips on how to handle the excess sticky areas I'd love to hear about it.

Thursday, December 16, 2021

What to do with leftover drills


So I still haven't transitioned back to knitting yet, despite El Nina creating some good knitting weather. Instead I've been looking for ways to use up some of my ever-increasing stash of leftover diamond dots (leftover drills are as much a cluttering nightmare as leftover yarn).

I am not talented enough to do anything freestyle so using a book that came with a kids window art painting set I created this cyclops angel. The plastic is from a sheet protector, the outline was done with paint pen and dots were stuck on using Diamond Dotz adhesive.

Angel ornament hanging on tree 

It all worked out so I ordered some heat resistant acetate sheets because I wanted to try doing a heat embossed outline which, as it turned out, didn't work that well but everything else did.

So my resources used to create this were a heat emboss acetate sheet, a template (Christmas Holly), some diamond dots corresponding to the template colours, a Wow embossing pen, white glitter embossing powder, embossing tool, and Diamond Dotz adhesive. Optional paintbrush to remove excess embossing powder.


First step was to trace the outline with the embossing pen, sprinkling embossing powder as I completed a section so it didn't dry out. After removing excess powder I used the heating tool to set the powder. Next step was to apply the adhesive to each section.

The bottle of adhesive recommends using a spatula to spread it out but I like using an old chopstick to get right into the corners.

The adhesive goes clear as it dries, leaving the surface sticky. Then it was just a matter of adding the dots. I did find the surface was stickier than a regular diamond painting canvas, it was a lot harder to remove a drill if I dropped it or put it in the wrong spot. Attempts to move dots sometimes resulted in the embossed outline being dislodged. I don't know if the glue interacted with the embossing somehow or if I just didn't adequately heat some sections of the outline.

Ultimately I'm pleased with how it turned out and I will be making more. I've got a strip of the acetate sheet leftover from this one, and because the dots seem to stick well I may try making a bookmark. I like using the window art book because it provides a legend of colours to use but you could just print any template / colouring in picture of the internet to suit what leftover drills use you have. 


Wednesday, February 17, 2021

Combining loves

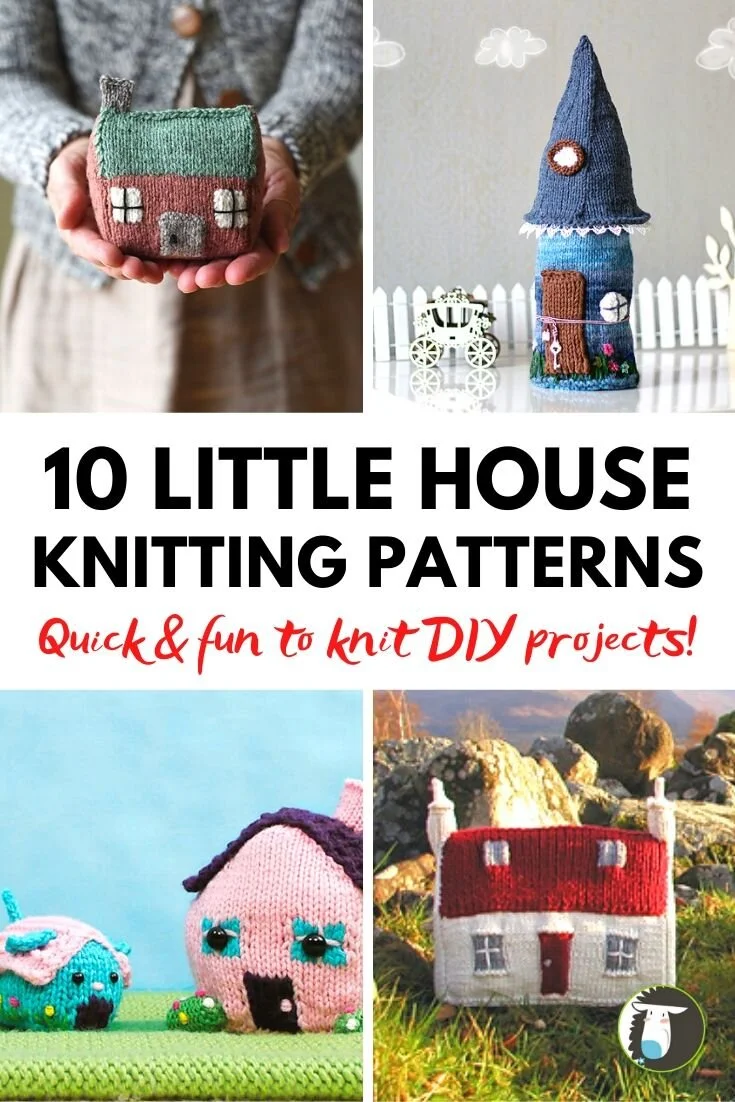
Now that the weather is starting to cool down I'm beginning to think about planning my next knitting project. I have long been obsessed with tiny houses on wheels (THOWs) and tiny houses in general but owning one is a bit of a pipe dream, I may have to knit myself one instead.

 Image result for tiny house knitting

Of course there's more on Ravelry

I could turn my knitted tiny house into something useful like a pencil case, handbag or tea cosy: https://intheloopknitting.com/home-knitting-patterns.php#freepatterns

Or I could knit some furniture and kit out an old dollhouse: http://www.katieboyette.com/2016/10/little-house-knitting-patterns.html

Friday, February 5, 2021

Current project (with Aurora Borealis drills)

I'm currently working on the Bathtime Mermaid by Diamond Dotz. I let out a little squeal of excitement when I realised it had aurora borealis drills (dots). AB drills have an additional iridescent coating that gives them a rainbow hue and adds a bit of extra sparkle to a project. In this project they have been included to bring the candle flames to life. 


I have used both AB and glow-in-the-dark drills (ordered from Jess' Diamond Painting) to make normal projects extra special and more unique. They are a bit hard to capture in photograph though.


This video by Stitcherista explains a bit more about what they are and how they look.


Wednesday, February 3, 2021

Tools - lighting

Just as with knitting, or any craft for that matter, good lighting is essential for DPers. This can be achieved by positioning your desk in daylight (mine is near a large window) but if you want to dot at night you will need a lightboard and / or lamp. The difference a lightboard makes can't be underestimated. They typically are available in sizes A4 to A4. I have an A3 one which is a good size for most projects and sits comfortably on my lap table and adjustable stand.

The pictures below show before with the lightboard off, and then after with the lightboard on. My lightboard has three levels and this is just with the lowest level of lighting.


The downside of lightboards when using them at night is that all the dots look a similar colour so if you've got a rogue dot in your bag you might not notice it when putting it on your painting. Also lightboards can be expensive and it's important to get a good quality one so that it lasts. A similar effect can be used by putting a torch under a glass table. We once did this to mock up a lightbox to look up x-rays. Before getting a lightboard I was using a lamp but it was still tricky to see dark numbers on dark colours at night.


DP pens that light up are available but I haven't tried them. I imagine it would be a similar experience to using a lamp but more localised. I tend to use just a lightboard now but my lamp has a magnifying glass (similar to this one from Bunnings) so it's handy for small / unclear print or similar symbols like M/N/H or 6/8.

Tuesday, January 5, 2021

Tools - storage

Everything you need to start diamond painting comes in the kit - the canvas with printed image, dotting stylus, wax, tray and dots. Some kids also include tweezers / correction tools and bags for storing dots.

There is a plethora of optional extras or upgrades available to dotters including light-up pens and wax pots. One of the biggest challenges diamond painters face is where to store the dots during a project. Some diamond painters bag up their dots before starting or sort them into storage trays like this travel case one or this open style one. I'm lazy and simply open a packet then sit in a tray until I need the colour again.

I had been using a multi-compartment tray from Bunnings but one issue I had was that the dividers don't go fully to the bottom of the container so if the bags spill the dots can slide under the divider and then end up in a confused mess. These craft storage drawers from Spotlight are popular for diamond painters, especially those who keep their dots for future projects, however it doesn't have to be costly For my current project I looked around the house for holders and here I'm using a Tim Tam tray and a Tupperware burger press.